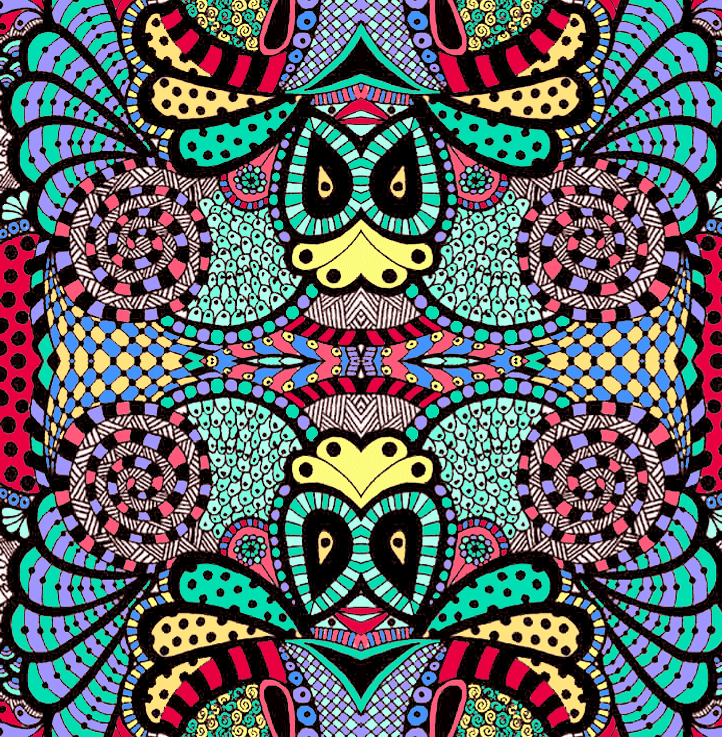
OBJECTIVES
-
Use line in varied patterns to produce a compelling abstract drawing
-
Become open to experimentation in drawing by embracing "mistakes" into new patterns
-
Familiarize yourself with the use of shape to express different textures and values
-
Use traditional drawing in partnership with Adobe Photoshop tools
DIRECTIONS
CREATE YOUR SHAPE
1. Grab two sheets of copy paper
2. Practice drawing a shape of your choice. Then, cut out your shape and trace it 10 times onto your two sheets of copy paper leaving some white space around each tracing as seen in the images below.
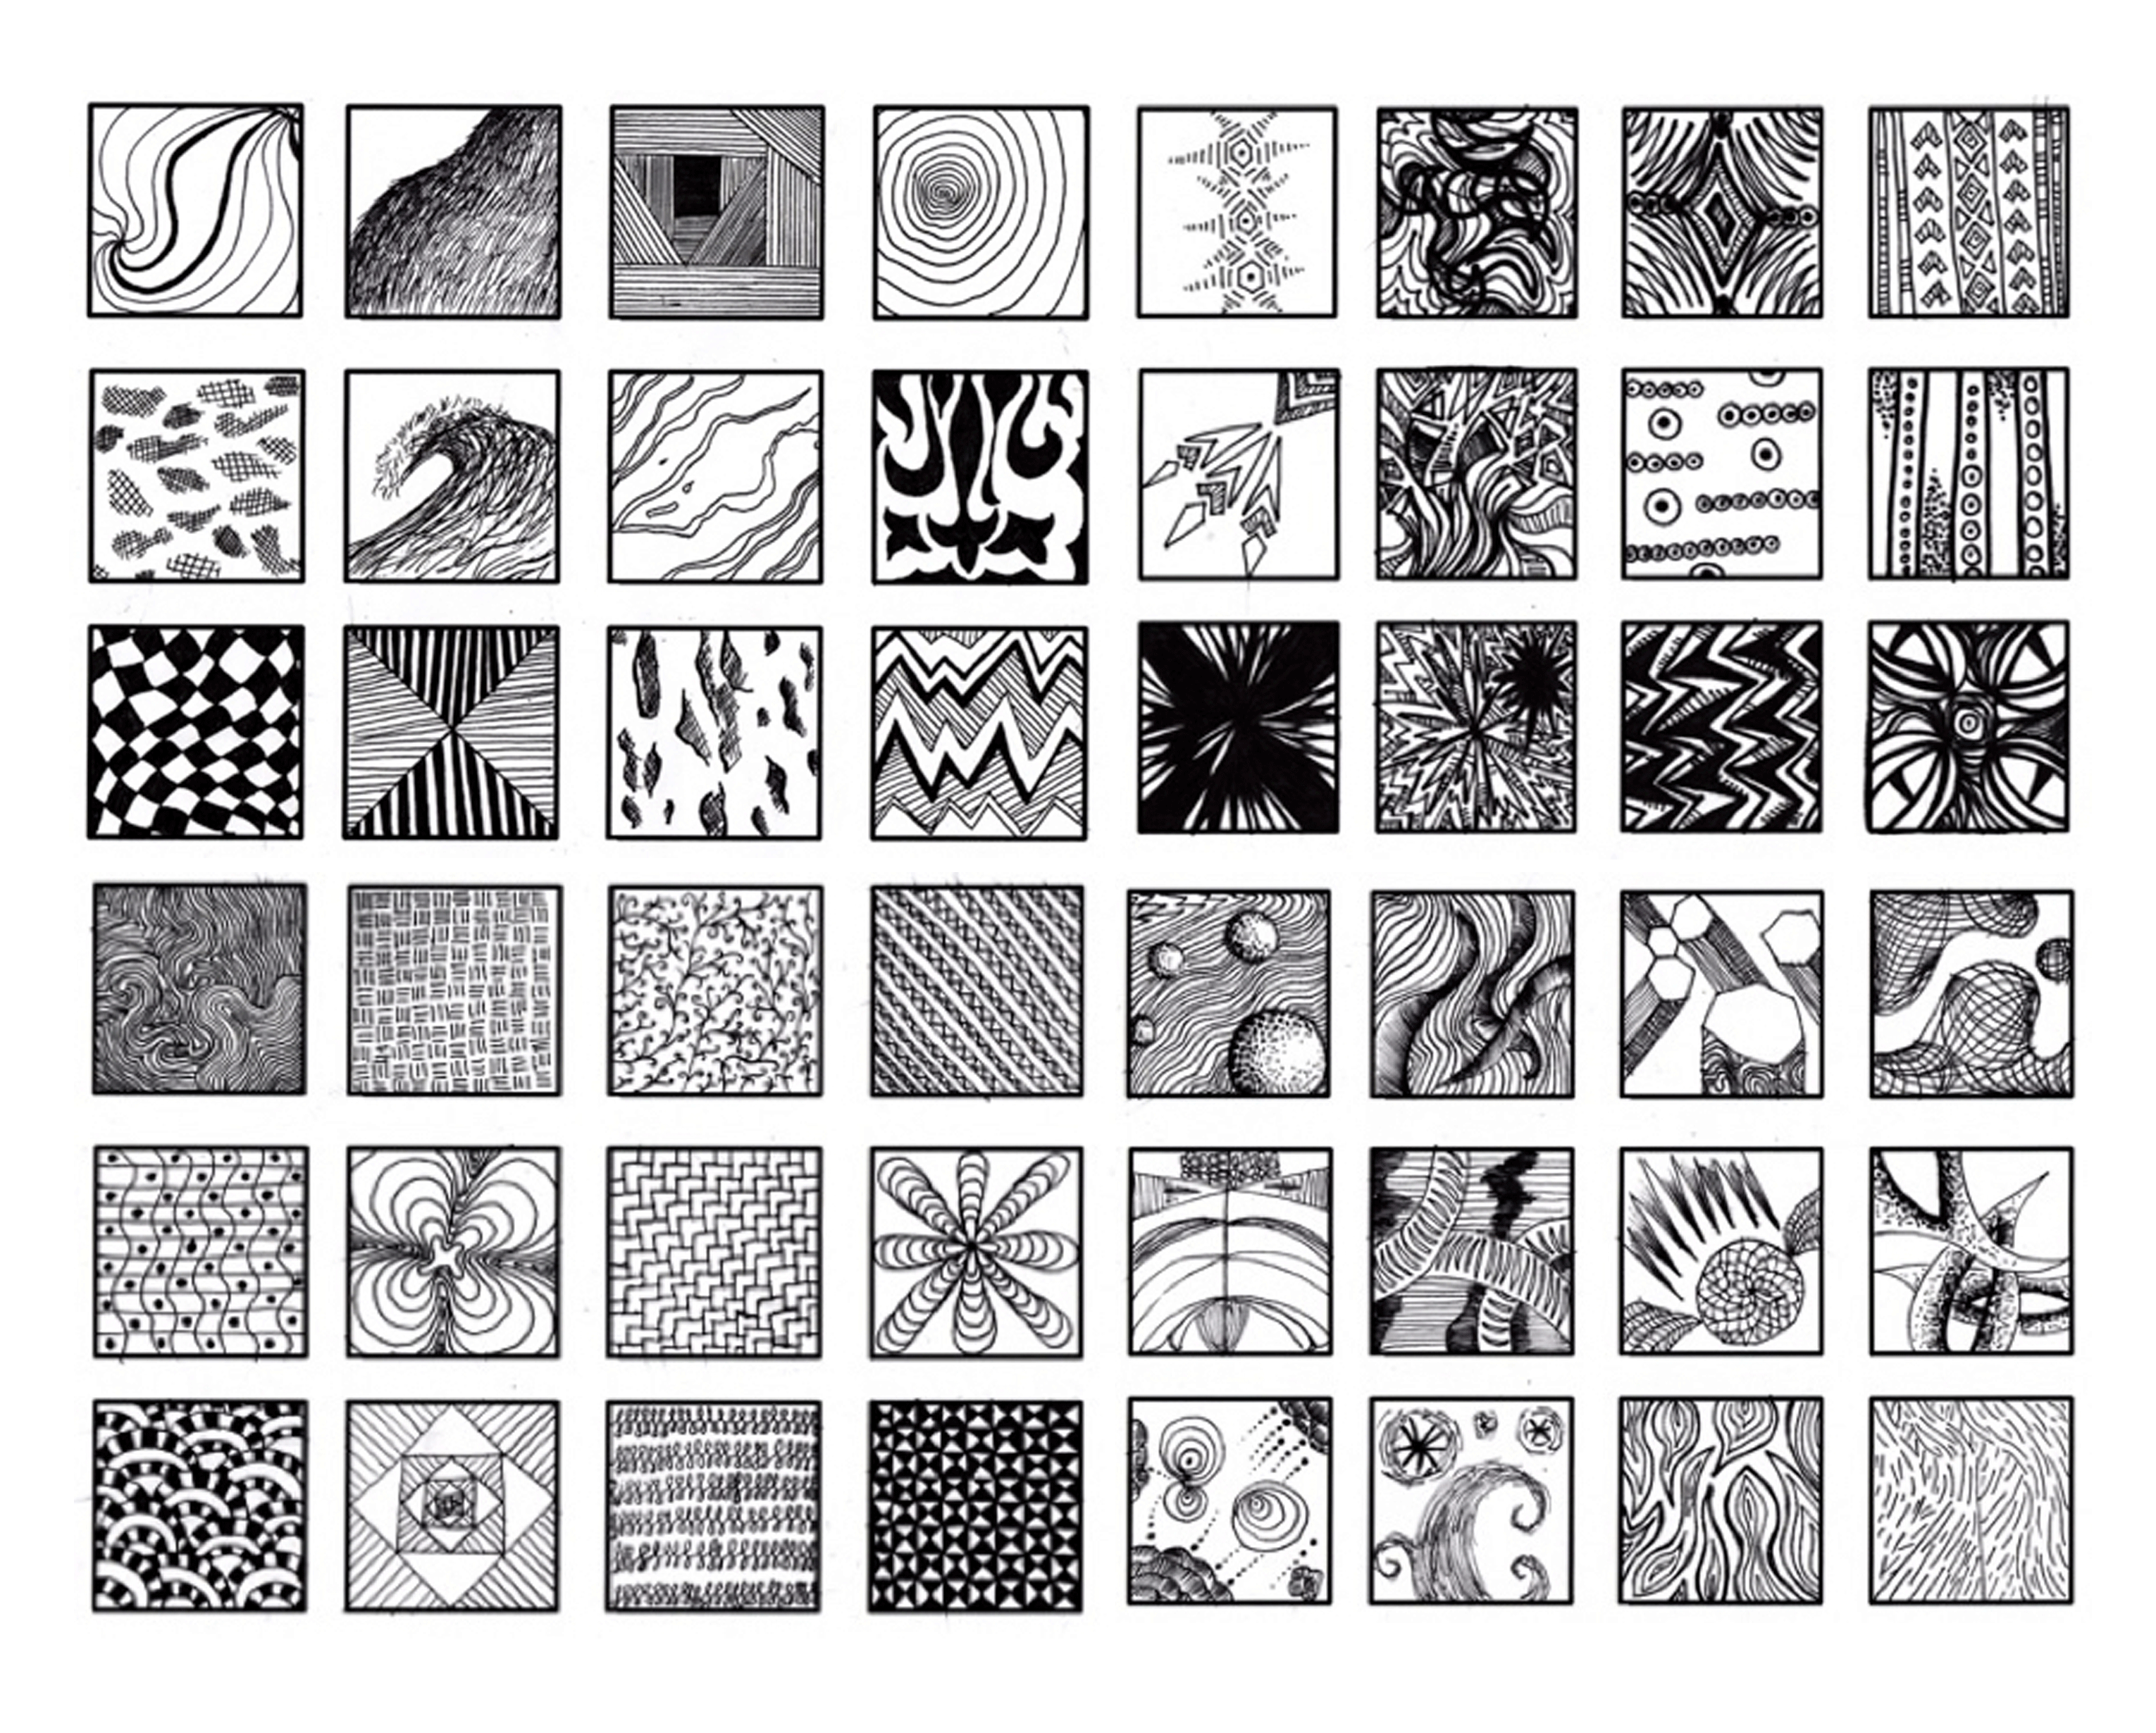
3. Begin adding textures within each of your 10 shapes. You may use example patterns below or invent your own.
-
You must complete 10 unique textures within your shapes.
-
VARIETY and DETAIL.
-
You can control the value of your drawing by placing lines closer together for a dark area or spreading them out to lighten an area.


ARRANGE YOUR DESIGN
1. Go to FILE > NEW and enter 8.5 inches width, 11 inches height, and 320 resolution.
2. Go to FILE > SAVE AS and save your project in your :Z drive.
3. Take a photo of your 10 shapes and upload them to Google Drive.
4. Download them from Google Drive
5. Go to File > Place Embedded to insert both pictures into your file.
6. Unlock the background layer for both layers if you see the padlock there.
7. Use the MAGIC WAND tool to select the white area around your shapes and hit Delete
ADD COLOR
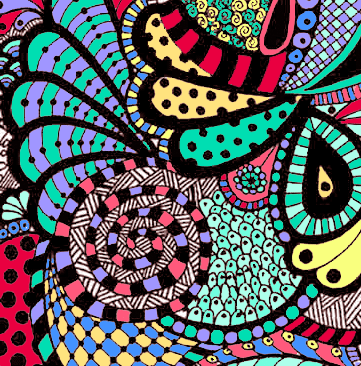
1. Use the PAINT BUCKET, PAINT BRUSH, or GRADIENT tool on the area selected
3. Select a new area with the MAGIC WAND or press Ctrl + D to deselect an area you are finished with
3. Go to IMAGE > ADJUSTMENTS > HUE & SATURATION to manipulate colors you have already added
COVER THE PAGE
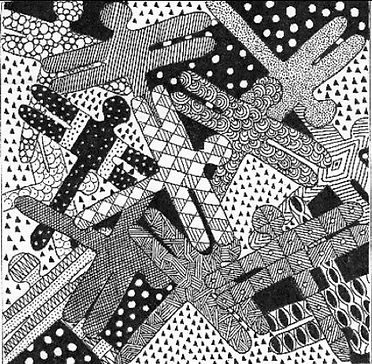
1. Click on the layer of one of your shapes
2. Press Ctrl + T to transform your shape. Rotate it by hovering your cursor outside of the box and click and dragging
3. Continue this process for each of your 10 shapes until the page is totally covered

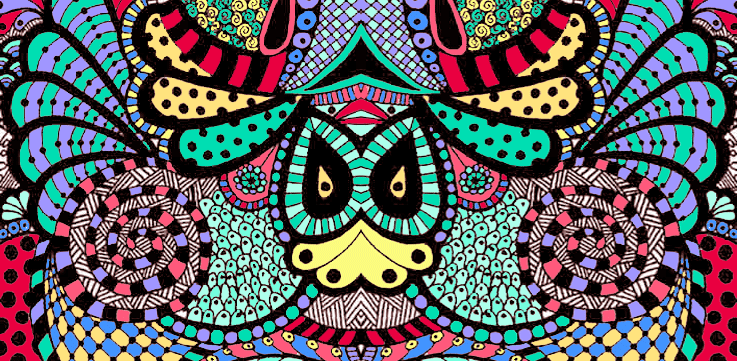
CREATE A SYMMETRIC IMAGE
1. Go to Layers > Merge Visible
2. Unlock the layer
3. Select the CROP tool from the toolbar and select your design, hit Enter
4. Go to Image > Canvas Size and change "Centimeters" to read "Percent"
4. Set the value for Width to "200"
5. Press (V), click and drag your image all the way to the left
6. Ctrl + A, Edit > Copy, Edit > Paste and move your copied image all the way to the right
7. Go to Edit > Transform > Flip Horizontal
CREATE A RADIALLY SYMMETRIC IMAGE
1. Go to Layer > Merge Visible
2. Use the Crop tool and drag a box around your design, hit Enter
3. Go to Image > Canvas Size and click the drop down menu and change it to read "Percent"
4. Set the value for Height to "200"
4. Press (V) and click and drag your image all the way to the top
5. Ctrl + A to select your design, Ctrl + C and Ctrl + V to copy and paste your design again
6. Press (V) and click and drag your image all the way to the bottom
7. Go to Edit > Transform > Flip Vertical
